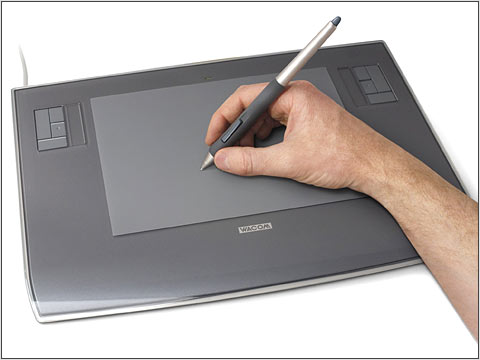
If you have been to any of my workshops, then you know that I utterly encourage the use of pressure-sensitive tablets like the Wacoms for post processing. If your not using one, chances are you haven’t been shown how to use them properly.
I thought I was reasonably decent with the tablet, but a few days ago I watched a Kelby training movie by Corey Barker on “Using the Wacom Tablet With Photoshop”. Boy did I learn some very cool tricks. Here’s just a few tricks that will turbo-charge your tablet-driven post production effectiveness.
Tip 1 – This was my favorite tip. Program the button on the pen to adjust brush size and hardness.
If you are like me, you probably left the button on the pen to the default of launching the brushes menu. It used to piss me off everytime I bumped it, and I never changed my brush sizes via the menu, always with the bracket keys (or touchstrip). However Corey showed me a way better way of adjusting your brush size and hardness in Photoshop (works in CS4 and CS5).
Try this out…..
Open Photoshop and open any document.
Select the brush tool, now hold down the <Cntrl>+<Option> keys down on your Mac (if you have a PC, list it on eBay and go and buy yourself a Mac now)
While you holding down <Cntrl>+<Option> move your pen (or mouse) left and right….. This adjusts your brush size!
Cool eh? Now move it up and down…. this adjusts your brush hardness…. Is that not WAY COOL!!!!
Now, here’s what you want to do. Program that annoying little button on your pen to be <Cntrl>+<Option>, and then you can adjust your brush properties by clicking it, and dragging your mouse around.
 To program this on your Pen do the following.
a) Open up the Wacom tablet driver from your System Preferences.
b) Make sure that your tablet is selected in the first row, Your pen is selected in the tool row, and Photoshop is selected in the Application row
c) Select the pen button to bring up the programming for the pen
d) I adjust the bottom part of the pen button and disable the top part of the button. Select “Modifier” for the bottom part of the pen button
e) select <Cntrl> <Option> and <Click> Check boxes
Thats it, give it a try.
Tip 2 – Make the Eraser Useful
I never use the eraser (because I’m typically painting on layer masks with white and black brushes), so I never  used it, but Corey showed me a great tip to make this useful. I am often toggling between Photoshop and Lightroom, so what I did was to program the eraser to be a toggle straight back into Lightroom (would also work for Bridge etc.). To do this click on the Eraser button and select “Open Run” from the menu choices and then browse to your Lightroom (or Bridge) application.
Tip 3 – Program up your Express Keys and your Touch strips.
I’ve been programming up my touch strips (left zooms in and out, right cycles through blend modes), and also my Express keys (lots of goodies on there that I use regularly like Space Bar, B for brush, X to toggle Black and White, Option key, etc. Don’t be lazy, use them thoughtfully.
Not using a Wacom tablet?
You don’t know what you are missing. Seriously, I can not process images properly with just the mouse anymore, it DRAMATICALLY speeds up your effeciency and effectiveness in post production. The tablet is not a substitute for the mouse (I still use the mouse), but the secret lies in unlocking the pressure sensitivity along with Layer Masks.
Enjoy
Brent
